Email format error
Email cannot be empty
Email already exists
6-20 characters(letters plus numbers only)
The password is inconsistent
Email format error
Email cannot be empty
Email does not exist
6-20 characters(letters plus numbers only)
The password is inconsistent

News
Happy Arts & Crafts , your reliable partner for OEM/ODM business!
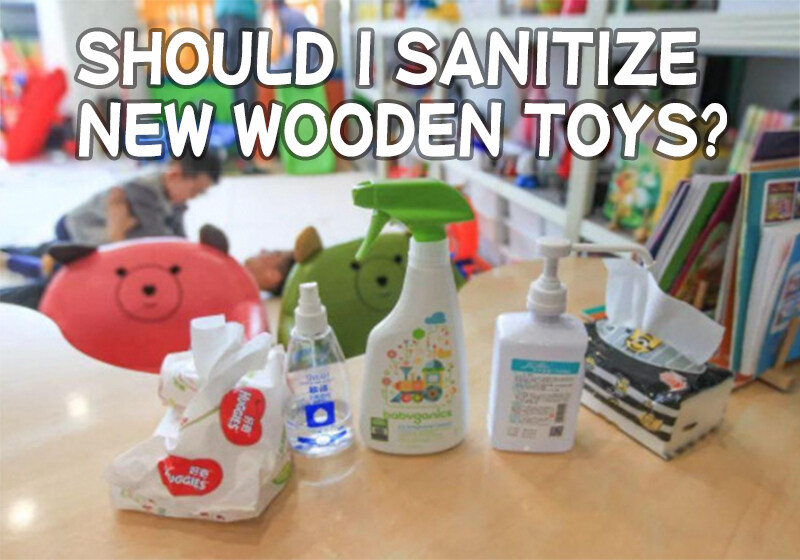
Should I sanitize new wooden toys?
1. Inspect the Toys: Read the label on the toy and look for any manufacturer warnings on new toys before sanitizing it.
It is important to take extra precautions while choosing and sanitizing toys during the COVID-19 pandemic. New and hand-me-down toys need to be examined carefully before allowing children to play with them. Here’s a handy guide on how to inspect the toys for safety and cleanliness before use:

1. Read the Label on the Toy
Before buying any new toy, carefully read the label on the toy for any manufacturer warnings or instructions about cleaning. This will help protect your child from potential hazards that might come with certain types of materials or processes used to make toys, such as lead paint, fire retardants, or phthalates (chemicals used in plastics).
2. Look For Manufacturer Warnings
Look closely at product packaging for any warnings issued by the manufacturer regarding contact with skin or chemicals used in production. These can tell you if there are higher risks associated with certain products that need additional caution.
3. Check For Holes and Cracks
Be sure to look closely at balls, puzzles, or other shaped toys that could contain small pieces that could cause choking hazards. Also keep an eye out for torn fabric edges or other broken pieces that may require removal from items otherwise safe for play.
DO check any cleaning solutions on a small, inconspicuous area first to ensure that it doesn't cause discolouration or other damage.
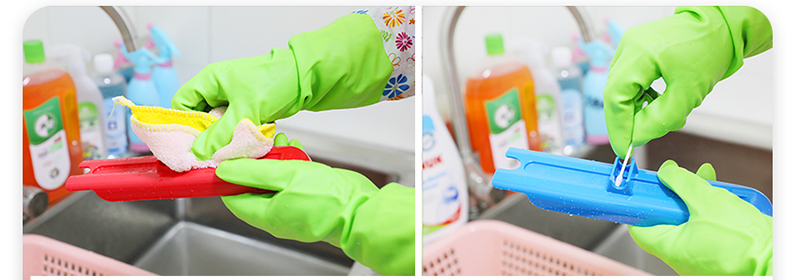
2. Clean Off Dirt & Grime: Wipe down the toy with a damp cloth to remove dirt and grime from the surfaces.
Toys are an integral part of a child’s life, so it’s important to keep them clean and free from dirt and grime. To help keep your children’s toys in optimal condition, it is essential to clean them often. One effective way of cleaning the toys is to wipe down the surface with a damp cloth. In this blog post, we will show you step-by-step instructions on how to remove dirt and grime from the surfaces of your child’s toy using a damp cloth.
1. Gather Your Supplies
Before you start wiping down your child’s toy with a damp cloth, make sure you have all the tools that you will need:
• A dry towel
• A lint-free cloth or microfiber cloth
• A mild soap and warm water
2. Create The Water Solution
Create a solution by mixing 1/4 cup of mild soap into one gallon of warm water in small bucket or large bowl. Make sure that there are no suds in the water solution before proceeding to the next step as this could leave residue on your toy after cleaning it.
3. Dip The Cleaning Cloth Into The Water Solution And Begin Cleaning The Toy
Take a lint-free cloth or microfiber cloth, dip it into the water solution and then wring out any excess liquid before beginning to clean off any dirt and grime from your child’s toy surfaces. Make sure to give extra attention to areas that seem especially dirty or grimy such as tight creases or groves where grime can accumulate over time if not regularly cleaned tool these areas may require some deeper scrubbing with a soft bristle brush for maximum cleanliness.
4. Wipe Down The Toy Until Cleaned To Satisfaction
Continue wiping until all dirt and grime are removed from all surface area being cleaned on the toy, ensuring that no spots have been missed along the way which could be hiding beneath some debris left over from prior play sessions Depending upon how much debris needs removing, re-dip your cleaning towel several times (or use multiple towels) while wiping, changing wet towels when they get dirty before continuing onward with more wiping until all dirt has been successfully removed!
Use a mild dish soap to remove the dirt from the surface of the plastic toy, being careful not to get any water on any electronic parts.
Some simple plastic toys are dishwasher safe, which is an excellent way to clean them.
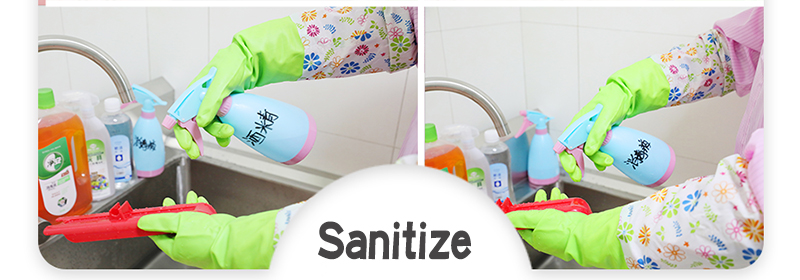
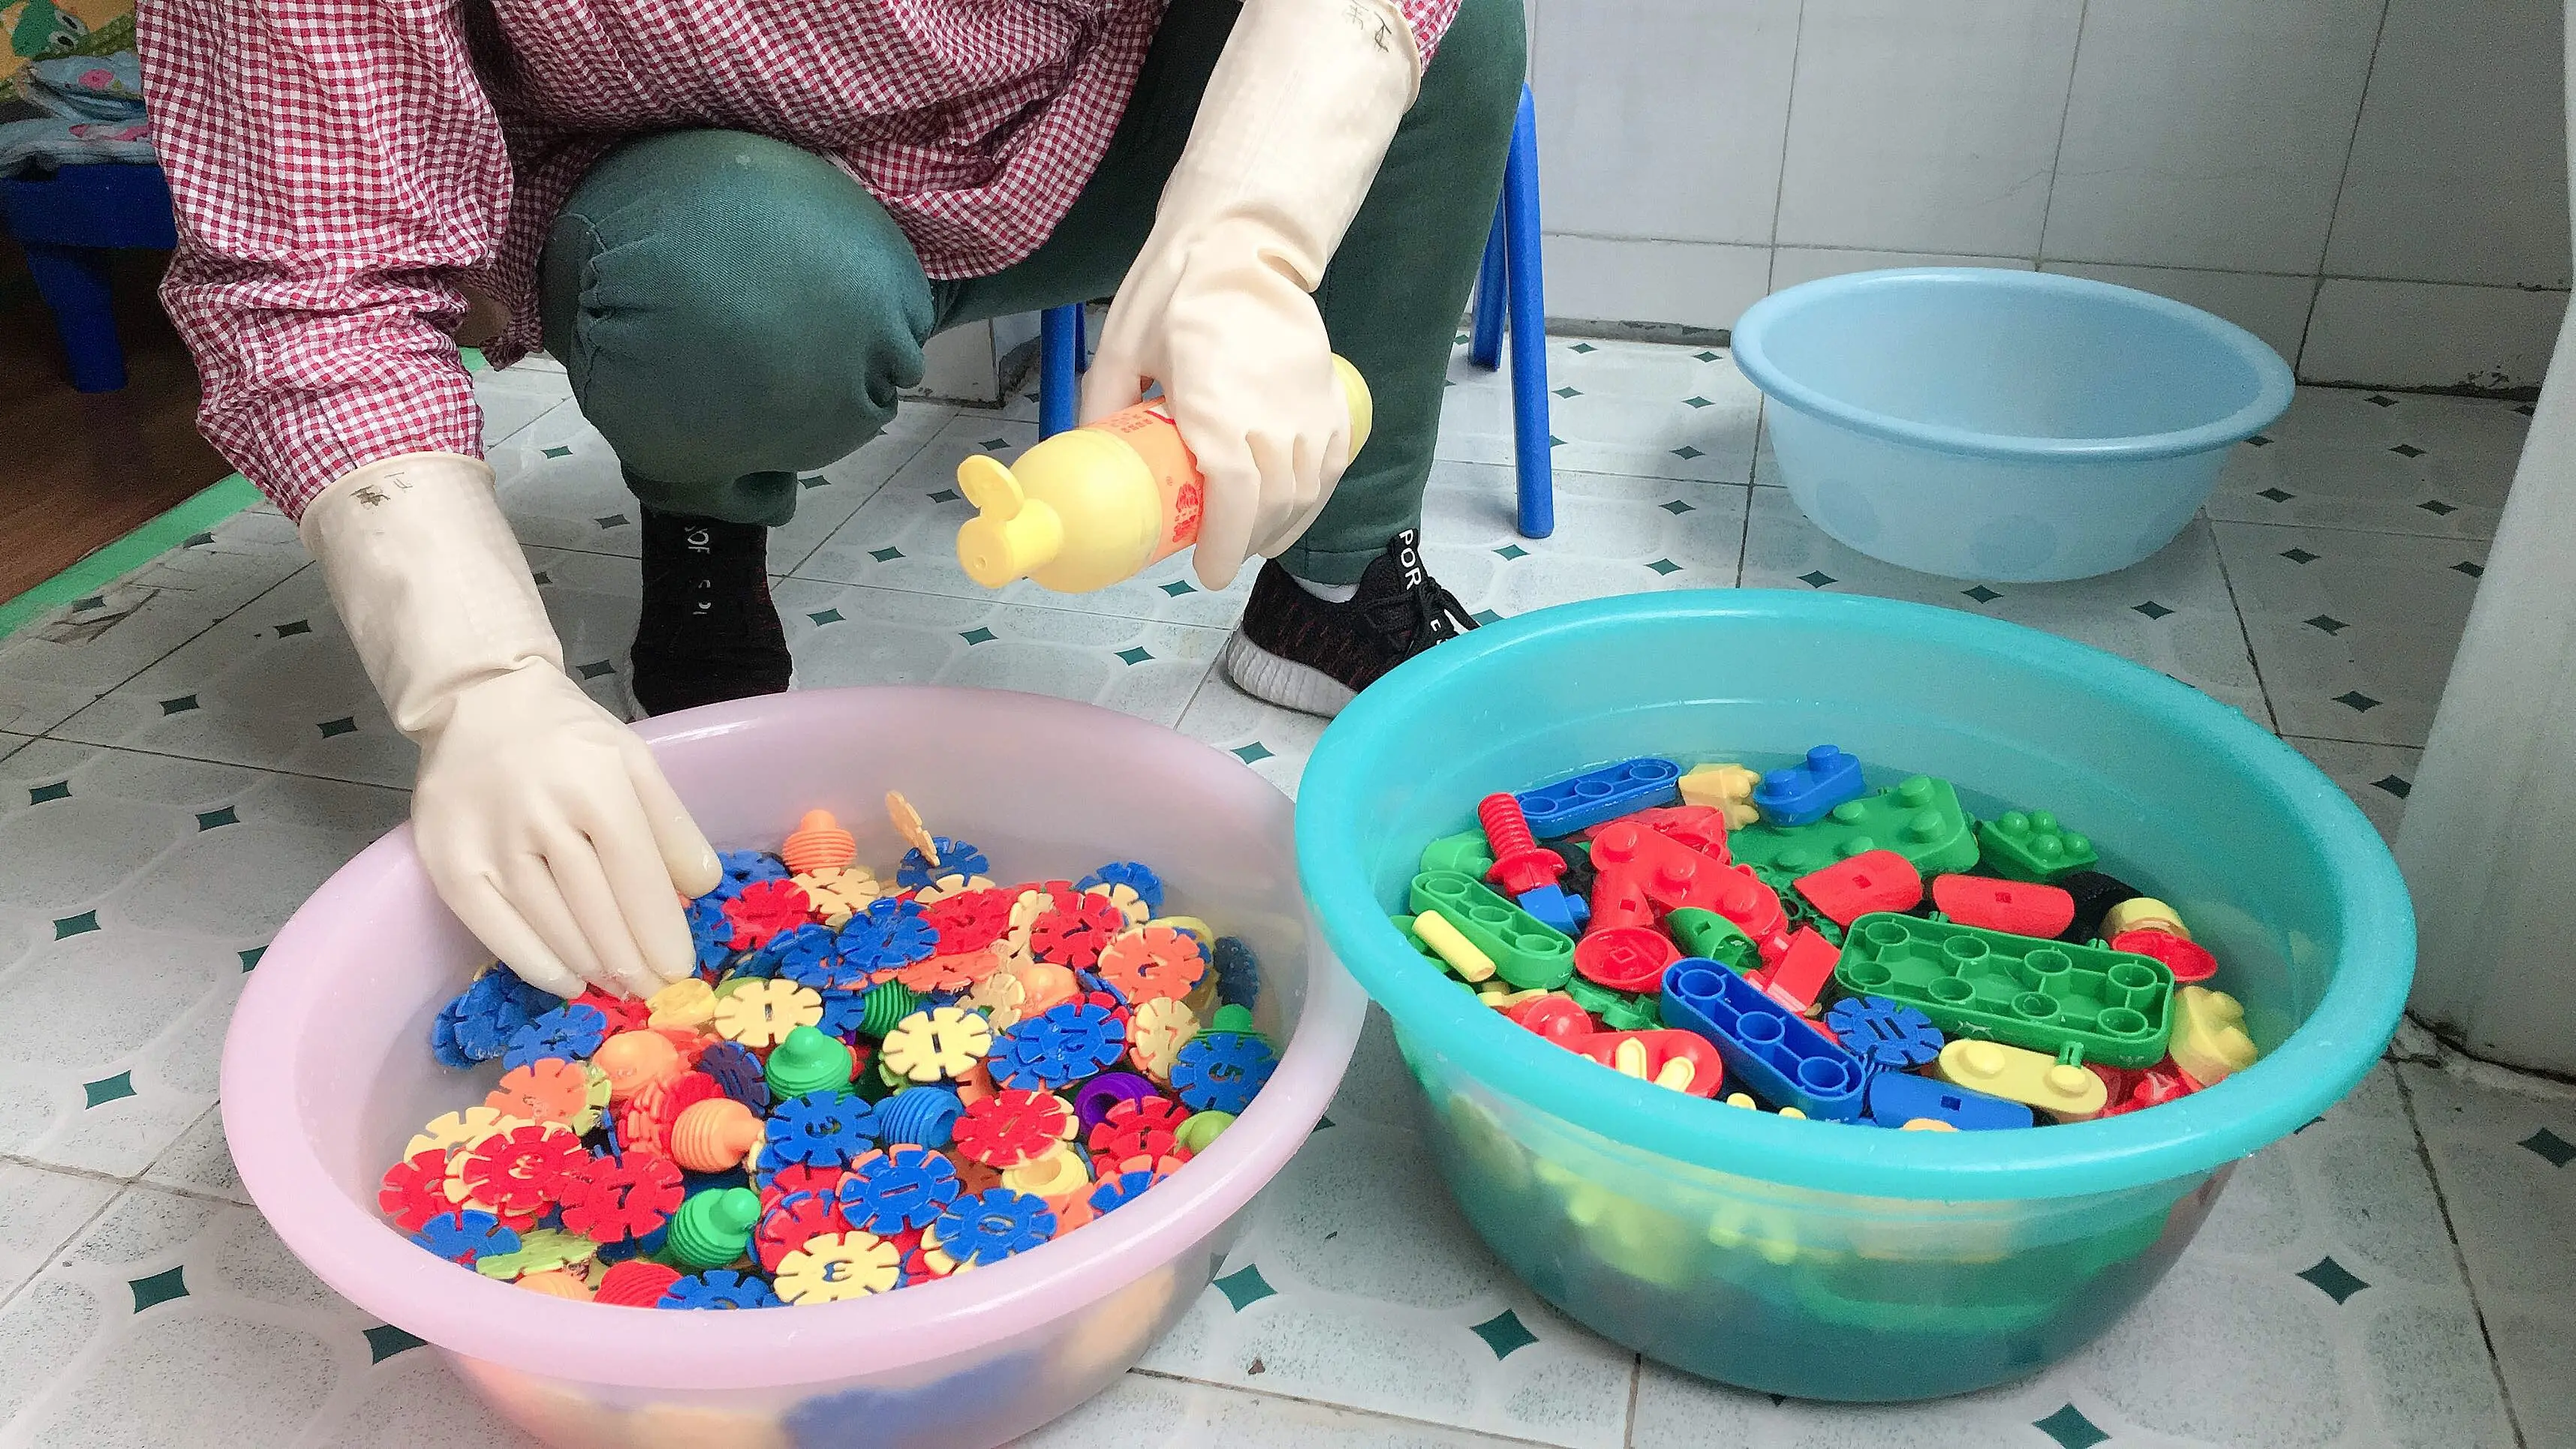
3. Sanitize the Toy: Dilute a mild bleach and water solution (1/4 cup of bleach to 1 gallon of water) in a bucket and submerge or soak the toy in it for five minutes, then rinse thoroughly with clean water.
Maintaining safe and sanitary playtime is essential for kids, and it’s even more important now due to the Covid-19 pandemic. One of the best ways to prevent the spread of infectious germs is to regularly sanitize toys. In this article, we'll be outlining step-by-step instructions on how to sanitize toys safely with a mild bleach and water solution.
1. Gather Materials: You will need one gallon of clean water, 1/4 cup of bleach, a bucket, and your toy (or toys) you want to sanitize. Make sure all materials are labeled correctly so that you don't accidentally mix up anything dangerous.
2. Prepare the Solution: Pour one gallon of clean water into a bucket and add 1/4 cup of bleach into it. Mix it together well with a spoon or stick until everything has been fully combined - this will ensure your solution is effective at safely cleaning your toys.
3. Sanitize The Toys: Drop your toy (or toys) in the bucket and soak them in the mixture for five minutes. This will allow enough time for any germs or bacteria on the surface to be killed off by the solution without damaging any delicate parts or pieces on your toy.
4. Rinse Off The Toys: After five minutes have passed, carefully remove your toy(s) from the solution and rinse them off thoroughly with clean water until there's no evidence of residual bleach left behind - this is extremely important! It’s also a good idea to use an old toothbrush or an appropriate cleaning brush to scrub off any hard-to-reach areas where germs might hide after soaking them in the solution just in case they could not dissolve completely during soaking process
This could be white vinegar, apple cider vinegar, a mild soap solution, or a non-toxic cleaning product marketed as safe for children.
For an alternative to a spray bottle, mix together vinegar and water inside a bowl.
Avoid immersing the toys in water.
In an empty sink, rinse the toys with hot water and scrub them with a sponge.
Fabrics Stuffed animals, comfort blankets, and cloth books often can be cleaned in the washing machine.
Dip a soft cloth into the soapy water.
This is because wood is naturally antimicrobial Contrast that with plastic toys, which can provide a perfect breeding ground for harmful bacteria.
Your baby's safety is more important than saving an inexpensive bath toy.
Likewise, if someone in your home is sick, it's a good idea to disinfect the objects that that they've touched at least once a day to help prevent the spread of germs.
Now that you’ve learned how to disinfect your children’s toys using a mild bleach and water solution, we hope that you can keep everyone safe from unseen germs every time they play without having too much worry about possible contamination from their beloved but beloved plastic companions too!
4. Dry Completely: Make sure to dry thoroughly before children play and handle their new wooden toys.
Wooden toys are popular for children because they look nice, are often brightly colored and have a natural finish. However, in order to ensure the safety of your children when playing with and handling their new wooden toys, it is essential that you dry them thoroughly before giving them to your kids. Here's how you can make sure that your children's wooden toys are dry enough to be played with.
After cleaning the toy we strongly encourage to wipe the toy dry with a clean cloth.
1. Dry Thoroughly With a Hairdryer
After completing these steps, time needed for drying varies according to the size of wooden tradition being dried but if in doubt use a hairdryer as an extra additive to ensure total satisfaction and completion of the job. When applying heat via hairdryer make sure both sides are heated equally so as not leave water spots due too uneven heating which can create water stains on surface when cooled down again. To facilitate this start outing at low speed setting and gradually increase adding more intese heat only after previous layer has dried completely.
2. Inspect After Drying Thoroughly
Once these steps have been completed carefully inspect your now dried wooden toy for signs of warping cracking discolouration check for soft spots in wood look for dust particles and generally ensuring everything looks well presentedOverall. If anything does appear strange like visual damage than let air dry for more extended period efore returning children play with them as this would reduce possible hazard leading too extreme accidents curious kids may find themselves indulging into if poorly maintained items at disposal around housea. Preservation: You can also coat your wood toys with wax or olive oil to preserve their appearance.
And with the proper care, your toys will last for generations to come.
